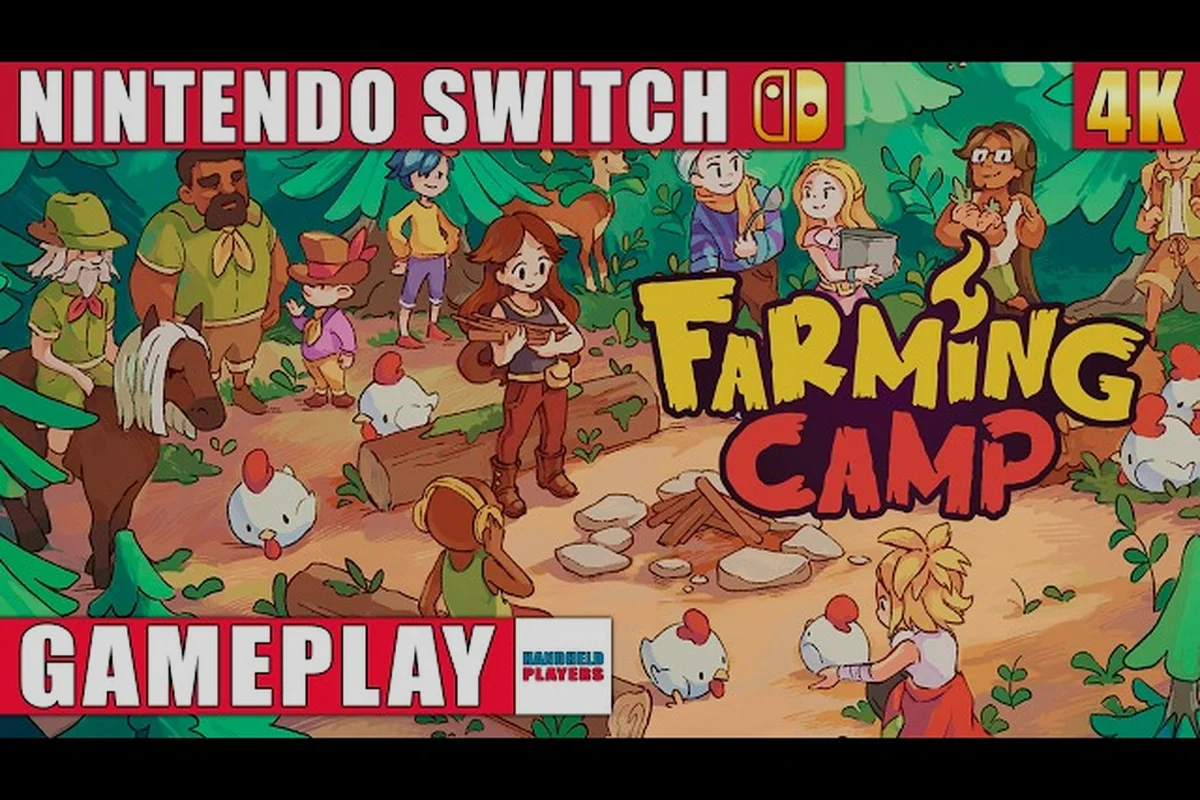
A working camp runs on healthy animals, and the Farming Camp animal guide gives new caretakers the foundation they need on day one. Pens, feed bins, grooming, and product collection all interlock, so missing one chore quietly drains your Animal Care score and the camp's overall ranking. This walkthrough breaks down pen construction, daily feeding, livestock priorities, and the early mistakes that cost you the most points.
Why Daily Animal Care Decides Your Ranking
Animal Care is one of the four core camp skills in Farming Camp, and according to the official Steam achievements list, reaching its max-level goal is a tracked milestone on every player's profile. That single achievement is a strong hint about how the rest of the game weights livestock: the camp's overall ranking blends farming, fishing, maintenance, and animal care into one score, so neglected pens drag down everything else you do well.
Animal care is also the only skill that runs on a real-time cadence rather than a planting cycle. Crops grow in stages you can see; animals demand water, feed, and attention at fixed points in the day. The official gameplay trailer on the SOEDESCO YouTube channel playlist shows the loop in action: watering and feeding the pen, brushing animals for the grooming bonus, and collecting eggs or milk before moving on. The result is a routine that feels closer to running a real farm than a planting sim.
Below is a quick comparison of the four camp skills and how much each leans on your daily attention, framed around the farming camp animal care loop: animal care is the only skill where neglecting it twice in one in-game day immediately tanks your camp score, while farming forgives a missed watering for 2-3 days, fishing respawns overnight, and maintenance only bites back when fences physically break. Because the pen demands water, feed, brushing, and product collection on a fixed twice-daily cadence, your morning and evening camp routines effectively revolve around the animal pen before crops or repair runs even get touched.
| Skill | Primary Loop | Time Pressure | Common Mistake |
|---|---|---|---|
| Farming | Till, plant, water, harvest | Medium — plants wilt in 2-3 days | Forgetting to water before bed |
| Fishing | Cast at hotspots, time the minigame | Low — fish respawn daily | Selling the catch before grading it |
| Maintenance | Repair fences, clear debris | High — broken fences trigger complaints | Skipping night-time patrols |
| Animal Care | Feed, water, brush, collect products | High — twice-daily feeding | Letting feed bins empty overnight |
If you want your first playthrough to land on the Queen of the Hill ending rather than Participation Award, the animal side of the camp deserves at least as much planning as your crop layout. Because the farming camp animal care score is weighted directly into your camp ranking, skipping the twice-daily feed and water routine on the animal pen can single-handedly pull a gold-tier farming season down to bronze. The safest early-game build is two chickens and one dairy animal in adjacent pens, so a single morning sweep covers the grooming bonus, product collection, and feed-bin refills for the whole livestock roster before you head to the tilled fields.
Building Your First Animal Pen
Before you can house a single chicken, you need a pen. The pen is the physical structure that gates every other animal system, and building it the right way early saves you from rebuilds later when you expand to a coop, barn, or stable.
Pen Construction Order
Pens unlock as part of the early quest chain at Evertree Farming Camp, and the build order matters more than the order in which you unlock the recipes. A common rookie mistake is dumping starter materials into a barn before finishing the basic chicken coop, because the barn stays empty without smaller pens to support it.
| Stage | Structure | Materials (approx.) | Unlocks |
|---|---|---|---|
| 1 | Small Chicken Pen | 30 wood, 10 nails | First chickens, daily egg collection |
| 2 | Coop Upgrade | 25 wood, 15 nails, 5 paint | Larger chicken capacity, breeding slot |
| 3 | Barn Base | 50 wood, 20 nails, 10 paint | Cow and sheep pens |
| 4 | Pasture Fence | 20 wood, 5 nails | Lets grazing animals wander, happiness up |
Notice the material overlap: wood and nails are the spine of every pen, and most early-game gathering runs should target those two first. Paint looks optional but speeds up the Animal Care XP gain from each finished pen, so spending a few cans early pays off in skill leveling.
Pen Placement and Layout
Where you place a pen changes more than just aesthetics — the Happiness stat, daily chore time, and even your camp score all hinge on layout, so three rules consistently come up in player reports for any farming camp animal pen setup.
-
Keep feed storage within 4 tiles of every pen. Walking back and forth across the camp to refill bins eats into your morning block and frequently causes the first feeding of the day to slip.
-
Place water troughs at the lowest point of the pen so drainage does not flood the bedding. Wet bedding drops the Happiness stat and forces a daily cleanup chore you would otherwise skip.
-
Reserve a 1-tile gap between adjacent pens to avoid the noise complaint event. Chickens and sheep do not get along in tight spaces, and complaints cost camp score.
A solid starting layout is a 3×4 grid of pens with feed bins along the top row and water troughs along the bottom. That footprint is small enough to fit beside the farmhouse and large enough to scale into the mid-game without tearing anything down.
Daily Feeding, Watering, and Grooming Routine
Feeding is the rhythm at the heart of every pen, and a steady routine is the single biggest differentiator between a five-star camp and a struggling one. The Farming Camp feeding schedule is built around two anchor points in the in-game day: morning (right after the alarm) and evening (before the camp sleeps).
Feeding Schedule at a Glance
| Time of Day | Chore | Why It Matters | Common Slip |
|---|---|---|---|
| Morning | Refill feed bins, top up water troughs | Animals lose happiness fast after skipping breakfast | Running out of feed overnight |
| Midday | Brush animals, collect products | Grooming bonus adds care XP, products sell well | Forgetting the brush before collection |
| Evening | Second feed pass, check bedding | Sets up the next day's happiness regen | Going to bed without a second feed |
Most players discover this rhythm only after losing a few animals to the neglect timer, which is why the official achievement tracker lists the Animal Care max-level goal as one of the more demanding milestones. Community testing on the launch build shows that a missed evening feed costs roughly 15-20% of next-day happiness, and that compounds into a one-week spiral if not corrected.
What Goes in the Feed Bin
Not every food item belongs in the same bin. The feed bin is the central distribution structure inside a fenced animal pen, but each species has a preferred diet and a different hunger decay rate — chickens drain their trough about every 1.5 in-game days, while cows and sheep last closer to 2 days, and pigs empty the bin in roughly one day because of the higher volume per meal.
-
Chickens eat grain and seeds. Vegetable scraps work as a backup but reduce egg output by roughly 10%.
-
Cows and sheep prefer hay, with grass as a secondary. Hay is a crafted item from the drying rack, not a raw plant.
-
Pigs are the easiest to feed because they accept almost any cooked dish, but they need the most volume per feeding.
A good rule is to keep at least two of every basic feed type in storage at all times, because the camp's general store restocks on a multi-day cycle and running out forces a costly emergency trip. Players who focus heavily on a single livestock type often hit this wall in the second week, when the restock timer and the in-game calendar collide.
Grooming, Products, and the Care Bonus
Brushing an animal is the easiest chore to skip, but the grooming bonus is one of the most efficient XP sources in the early game. Each brush adds a small care bonus, and a fully groomed pen will produce higher-quality products. Higher-quality products sell for significantly more at the camp shop, so the brush pays for itself in the first week.
A simple routine that works for most players: set three fixed checkpoints around the animal pen, each tied to a specific camp task — morning for feed and water top-off, midday for brushing and product collection, evening for bedding reset and a second feed pass. Spacing the visits roughly four hours apart keeps every happiness meter in the safe zone without requiring the player to camp the pen, and the brushing checkpoint specifically stacks the grooming bonus with whatever products the animals drop between passes, so a single lap converts into both XP and sellable goods. For a player running a mixed pen of chickens and larger livestock, staggering the brush by species (chickens at midday, larger animals in the evening) prevents the brush cooldown from bottlenecking the routine.
-
Walk the pens once in the morning, top off feed and water.
-
Walk the pens again at midday with the brush equipped, collect any products on the ground.
-
Walk the pens a third time in the evening, add a second feed pass, and reset the bedding if needed.
Three passes is more than the game strictly requires, but it keeps every happiness meter in the safe zone and turns the camp score into a passive gain rather than something you have to fight for every contest. For a deeper look at how these timing windows fit into a full day at camp, the daily schedule walkthrough lays out the same routine inside the broader summer calendar.
Livestock Types and What to Prioritize
Farming Camp offers a small roster of livestock rather than a sprawling menagerie, and each animal has a clear role in the camp economy. The best choice for your first pen depends on whether you want fast turnover or steady long-term profit, and the priorities shift again once you unlock a second pen.
Chicken vs Cow vs Sheep vs Pig
| Animal | Pen Type | Daily Output | Upkeep | Best For |
|---|---|---|---|---|
| Chicken | Coop | 1-2 eggs, feathers | Low — grain only | Early game, fast XP, steady cash |
| Cow | Barn | 1 milk bucket | Medium — hay daily | Mid-game, high-value milk products |
| Sheep | Barn | Wool every few days | Low — grass and hay | Quiet pens, low complaint risk |
| Pig | Sty | Truffles or cooked dishes | High — needs cooked food | Late game, highest profit per day |
Chickens are the clear first pick for new players because they fit in the smallest pen, eat the cheapest food, and lay products every single day. The Farming Camp chicken guide is essentially the rest of this section: build the coop, keep grain in the bin, brush daily, and the eggs do the rest.
Cows are the second priority once you have the barn built and a steady hay supply. Milk products feed into the cooking contests (The Last Straw, In-pasta Syndrome, Much-room for Improvement, Toasty!), so the cow pen doubles as a contest prep station. According to the official Steam achievements list, winning all four cooking contests unlocks the Teamwork Makes the Mealwork achievement, which is a high-value target for any completionist run.
Sheep are a niche pick: low output, low complaint, very low stress. They are a great fit for a second or third pen once chickens and cows are already paying for themselves, and the wool feeds into textile recipes later in the game.
Pigs are the late-game luxury. They need cooked dishes rather than raw feed, which is a tall order in the first summer, but their daily output is the highest in the game. Most players do not unlock pigs until week three or four, and by then the cooking pipeline is mature enough to support them.
If you are still deciding which livestock to specialize in once you have the basic pen built, the livestock comparison guide goes deeper into the trade-offs between cows, sheep, and pigs at mid-game.
Common Early-Game Mistakes and How to Avoid Them
Even experienced players lose animals in the first week because the early game has several hidden failure modes that are not obvious from the quest text. The mistakes below show up again and again in community reports, and fixing them is the fastest way to climb the Animal Care XP curve.
Mistake 1: Treating the Pen as a Side Activity
Many new players treat animals as a low-priority side hustle while they focus on crops and fishing. The official trailer shows the four core skills on roughly equal footing, and the achievement list confirms that Animal Care max-level sits beside farming, fishing, and maintenance as a tracked goal. Skimping on pens is a sure way to fall behind on the camp's overall ranking.
Mistake 2: Letting the Feed Bin Run Dry Overnight
The single most common cause of a happiness crash is an empty feed bin at midnight. The morning feed only resets the happiness decay for that day, so a single missed evening pass is enough to start a downward spiral that takes a full in-game week to undo.
Mistake 3: Skipping the Brush
Brushing feels optional, but it is the cheapest XP-per-minute activity in the game. A clean animal also produces higher-quality products, which feed into contest prep and shop profits. Skipping the brush is leaving money and XP on the ground.
Mistake 4: Building Too Many Pens Too Fast
Expansion is tempting once you see the recipes, but each new pen doubles the feed cost and the time cost. Players who build three pens in the first week usually cannot keep all of them fed, and the third pen becomes a happiness drain on the whole camp. Two well-tended pens outperform five empty ones every time.
Mistake 5: Ignoring Noise and Complaint Events
Adjacent pens, especially chickens next to sheep, can trigger noise complaints that dock the camp score. The complaint meter is invisible until it fires, so the only reliable fix is the 1-tile gap rule from the layout section. If you are not sure whether your current layout will trigger the noise complaint event, the coop guide covers which combinations of pens stay quiet through the full summer.
Advanced Tips for the Mid-Game
Once the basics are running, several mid-game optimizations separate the top-scoring camps from the average ones. None of them are required to finish the story, but they push the camp score into the range needed for the Queen of the Hill ending.
Optimize the Morning Block
The morning is the most chore-heavy time of day because feed, water, brush, and collection all stack up. A good rule is to barn-first: refill the largest feed bin first, then the smaller ones. Larger bins take more time to fill but they also last longer, so starting with the biggest one guarantees you have enough time for the smaller pens before the day gets busy.
Stack Grooming and Collection
Walking a pen with the brush equipped while also picking up products saves a full trip. This is small in the first week, but it adds up to one extra hour of free time per in-game day by the time you have four pens running. That hour is the difference between hitting every contest deadline and missing one.
Time Cooking Contests With Your Pen Output
The four cooking contests in Farming Camp are tied to specific recipes, and the recipes often overlap with the products your pens produce. Milk from cows, eggs from chickens, and wool-thread items all feed into contest entries. Planning the pen schedule around the contest calendar is one of the most efficient ways to climb the camp score once the basics are stable. If you are working through the cooking chain, the milk guide maps out how cow output feeds into the contest recipes.
Save High-Quality Products for Contests
A normal egg is a quick sale, but a star-quality egg is a contest ingredient. Reserve the best products for contests and sell the rest; the small loss in shop income is more than offset by the contest bonus, which usually unlocks a chunk of camp score in a single event.
Wrapping Up Your First Camp Season
A successful animal setup in Farming Camp is less about memorizing recipes and more about building a daily routine that fits the camp's real-time clock. The two-feed schedule, the three-pen layout, and the brush-as-XP loop are the three habits that carry the most weight across the full summer, and they are the foundation that every mid-game optimization rests on. Once the routine is muscle memory, the animal side of the camp quietly becomes one of the most reliable score sources you have.
Frequently Asked Questions
What is the first animal I should raise in Farming Camp?
Chickens are the best starter livestock because they fit in the smallest pen, eat the cheapest feed, and lay products every day. Building the coop first and getting the daily feeding schedule locked in before expanding to a cow or sheep pen keeps the Animal Care XP curve on track for the first in-game week.
How often should I feed the animals each day?
The standard Farming Camp feeding schedule runs twice a day, once in the morning and once in the evening. A midday brush and product collection pass is the most efficient way to add the grooming bonus without spending extra feed, and it keeps every happiness meter in the safe zone through the night.
Can I keep chickens and cows in the same pen?
No, chickens and cows need separate pens because the coop and the barn are two different structures. The recommended order is to build the small chicken pen first, then the barn base once chickens are stable, and keep at least a 1-tile gap between the two to avoid the noise complaint event.
Do animal products affect the cooking contests?
Yes, eggs, milk, and wool all feed into the four cooking contests in Farming Camp. Winning all four contests unlocks the Teamwork Makes the Mealwork achievement and adds a large chunk of camp score, so saving high-quality products for contest days is more profitable than selling them at the shop.
What happens if I miss a feeding?
A missed feeding drops animal happiness by roughly 15-20% and starts a slow downward spiral that takes about a full in-game week to correct. The fastest recovery is to do an emergency feed pass as soon as you notice the drop, then resume the normal twice-daily schedule the next morning.