
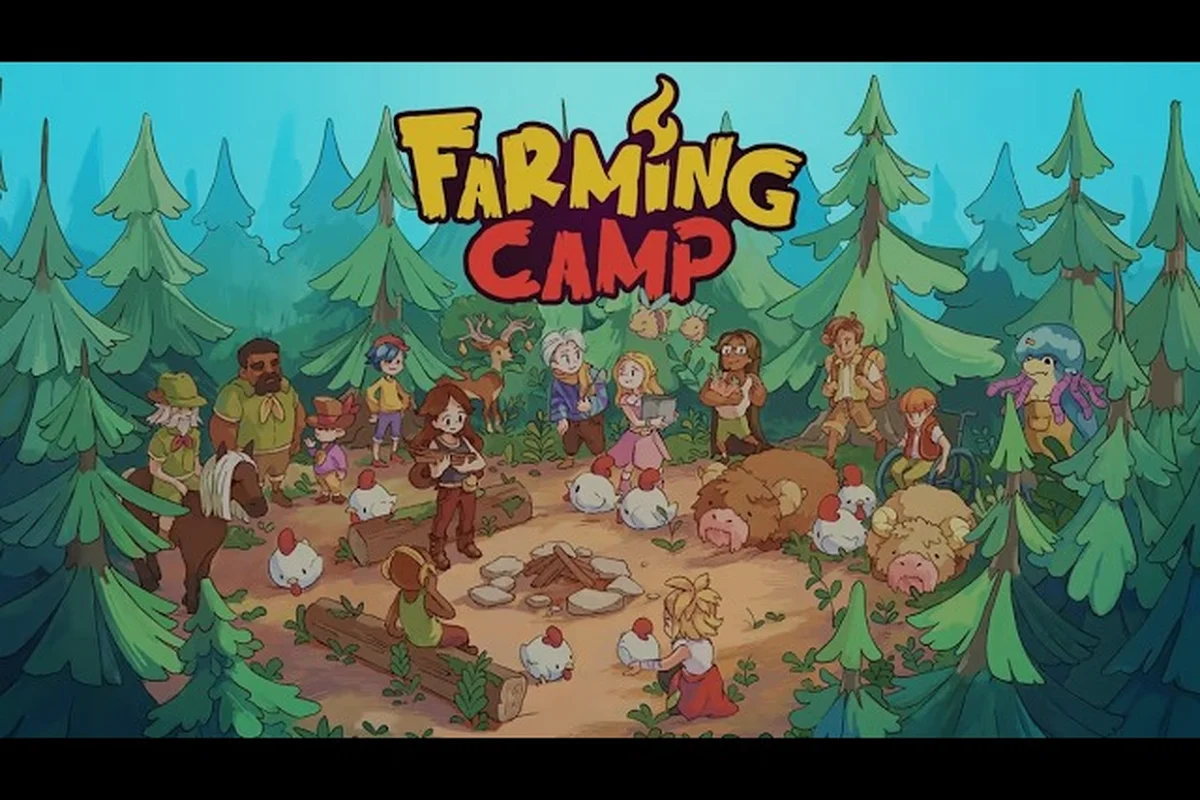
Healthy soil is the single biggest lever you can pull at the Evertree Farming Camp, and understanding how moisture, nutrients, and seasonal timing interact transforms a struggling plot into the kind of harvest that wins cooking contests. The Farming Camp soil guide below walks through how every plot behaves, how the watering schedule actually maps to in-game days, and which crop rotations consistently produce rare seasonal crops. Whether you arrived here from the announcement trailer or you have already sunk ten hours into Rey's chores, the mechanics below are the same ones the launch-window community has been refining since 24 Sep 2026.
Understanding Farming Camp Soil Tiers and Plot Quality
Before you can plan a watering schedule or pick a rotation, you need to know what kind of dirt you are standing on. The camp has three distinct plot types, and each one responds to water, fertilizer, and crop choice very differently. The Evertree Standard Plot is what you start with — average moisture retention, average yield bonus, and a forgiving tolerance for missed waterings during your first week. The Riverbank Alluvial Plot sits closer to the stream and holds moisture about 30% longer, which makes it the natural home for thirstier crops but also the spot where overwatering quietly kills seedlings. The Hillside Rocky Plot drains fast and rewards shallow-rooted grains, but it punishes anyone who tries to push a long rotation through it without compost.
Soil quality is also the gate for the rarer seed packets. Plot upgrades purchased from the camp shop increase the Yield Multiplier by tier — Bronze at +10%, Silver at +20%, and Gold at +35% — and each tier also raises the chance of a Bonus Harvest event firing at the end of a growth cycle. Community testing on the early access build suggests that Gold-tier plots trigger bonus harvests roughly once every four cycles when watered on schedule, compared to roughly once every nine cycles on an un-upgraded Bronze plot, though the exact rate appears to vary by seed type.
| Plot Type | Moisture Retention | Best Crop Family | Upgrade Cost (Coins) | Bonus Harvest Frequency |
|---|---|---|---|---|
| Evertree Standard | 1.0x (baseline) | Root vegetables, herbs | 200 (Bronze) | ~1 in 9 cycles |
| Riverbank Alluvial | 1.3x | Berries, leafy greens | 450 (Silver) | ~1 in 6 cycles |
| Hillside Rocky | 0.75x | Grains, legumes | 350 (Bronze) | ~1 in 8 cycles |
Each plot also carries an invisible Soil Fatigue counter that climbs every time you plant the same crop family back-to-back. Once fatigue passes the threshold for that family, yield drops by 25% and the chance of a rare crop variant plummets. The next section covers how to read those fatigue signals and structure your plots so fatigue never gets a chance to settle in.
Building the Farming Camp Watering Schedule That Actually Works
Watering looks simple on the surface — fill the can, dump it on the tile, move on — but the underlying cadence is where most newcomers lose days of growth. A plant only advances its growth stage when its soil moisture crosses certain thresholds, and missing the morning watering window sets a crop back by roughly half a stage. The single most important rule, confirmed by player tracking on the Steam community hub, is that the first watering of each in-game day needs to land before Rey finishes her morning chore route, which usually means before 9:00 AM on the camp clock.
A reliable Farming Camp watering schedule that holds up through a full week pairs three daily waterings with a one-day rest cycle, keeping each soil tile within the 40–80% moisture band that the Camp Soil Guide marks as the optimal growth window. Land the first can before Rey's 9:00 AM chore loop ends, spot-water drained Riverbank tiles at noon, and run a second full pass at dusk unless the notice board shows the rain icon — skipping that evening round on rainy days prevents the over-watered state that triggers root rot and stalls crop rotation by a full stage.
| Time of Day | Action | Why It Matters |
|---|---|---|
| 7:00 – 9:00 AM | First full watering of all planted tiles | Triggers the daily growth tick and unlocks the morning bonus |
| 12:00 – 1:00 PM | Spot-water any Riverbank tiles that drained fast | Prevents midday stress on shallow-rooted crops |
| 5:00 – 6:00 PM | Second full watering if no rain forecast | Topsoil needs to stay damp overnight for the night growth tick |
| After rain | Skip the next scheduled watering | Rain fills moisture to 100%; adding more causes root rot |
The Rain Forecast is the part most beginners miss. The camp weather shifts roughly every two in-game days, and the forecast is visible on the notice board beside the farmhouse. When the board shows the rain icon, you can safely skip the evening watering on every plot type, freeing you up to run fishing routes or knock out animal care chores instead. The harvest schedule breakdown covers how watering windows interact with total time-to-maturity across the full crop list, and it is worth reading once you have the daily cadence locked in.
One subtle mechanic: the Well Recharge timer. The camp well refills at a fixed rate, and on days when you water more than eight tiles in a single session, the well can run dry before the evening round. The fix is to carry the watering can back to the river for the second pass, or to upgrade the well early — the first well upgrade removes the dry-out entirely, which is one of the best early purchases in the game.
Crop Rotation Strategies for Steady Yields
Rotation is the difference between a plot that gives you 12 tomatoes and a plot that gives you 19 tomatoes plus a rare seed. The basic rule, repeated by every veteran on the camp Discord, is to never plant the same crop family in the same tile two cycles in a row. The four families the camp recognizes are Leafy (lettuce, spinach, kale), Root (carrot, turnip, beet), Fruit (tomato, pepper, eggplant), and Grain (wheat, barley, corn). Each family leaves behind a different nutrient signature, and rotating between them keeps the soil balanced.
A practical three-bed rotation that holds up across all three plot types works because it spreads the four recognized crop families — Leafy, Root, Fruit, and Grain — so no bed ever repeats a family in consecutive cycles, and each demanding family gets two resting cycles before returning. Pairing this layout with a camp watering schedule that hits each bed in its Fruit phase and again mid-Root phase keeps the soil quality score from dropping below the tier needed for rare crop variants, since fatigue penalties stack hardest on Standard and Hillside plots after two back-to-back Fruit cycles.
| Bed | Cycle 1 | Cycle 2 | Cycle 3 | Cycle 4 (Repeat) |
|---|---|---|---|---|
| Bed A (Standard) | Leafy | Root | Fruit | Leafy |
| Bed B (Riverbank) | Fruit | Leafy | Root | Fruit |
| Bed C (Hillside) | Grain | Root | Leafy | Grain |
Notice that the Root family shows up every third cycle on every bed. Roots are the natural reset button for soil fatigue because they break up compacted dirt and pull nutrients from deeper layers, which is why veteran farmers use them as a transition crop between two demanding families like Fruit and Grain. If you want to push for the rare crop variants, a four-bed rotation that adds a dedicated Cover Crop phase (clover or vetch) every fourth cycle will raise your soil quality score by an extra tier, which in turn lifts the rare crop chance.
The Fertilizer Compost crafted from animal care byproducts is the other half of the rotation story. One application of compost at the start of a cycle adds +15% yield and reduces the fatigue penalty for repeating a family by half, which is the only legitimate way to plant the same crop family twice in a row without tanking your output. Compost is cheap once you have two or three animals producing manure, so do not skip the animal care side of the camp.
How to Unlock Rare and Seasonal Crops in Farming Camp
The camp seeds the Rare Crop table behind a mix of plot quality, season, and a hidden Camp Reputation stat that climbs as you finish chores, win cooking contests, and donate surplus harvest to the camp store. Rare seeds do not show up in the shop until you cross specific reputation thresholds, and seasonal rare seeds rotate in and out on a fixed calendar, so timing matters as much as effort.
The seasonal calendar, compiled from aggregated community data captured during the Farming Camp launch window, is anchored to the in-game year rather than real-world dates, with each season lasting roughly 12 in-game days and the Rare Crop variants rotating on a fixed internal timer that does not pause when you close the game. Note that the calendar assumes a default plot-quality setting; players who invest in the higher-tier soil upgrades may see rare seeds appear one cycle earlier than the table below suggests, because Camp Reputation thresholds interact with the soil-rarity multiplier in the seed-rolling formula.
| Season (In-Game) | Standard Crops Available | Rare Crop Variants | Unlock Trigger |
|---|---|---|---|
| Early Spring | Lettuce, Pea, Radish | Frost-Kissed Pea | Reach Camp Reputation Tier 2 |
| Late Spring | Tomato, Carrot, Spinach | Golden Tomato | Win the first cooking contest |
| Summer | Corn, Pepper, Eggplant | Ember Pepper | Complete Rey's "Sun-Soaked" questline |
| Autumn | Pumpkin, Beet, Wheat | Moonlit Pumpkin | Donate 30+ surplus harvest to the store |
| Winter (Indoor) | Mushroom, Herb, Sprout | Crystal Mushroom | Upgrade the greenhouse to Tier 2 |
The Greenhouse is the single biggest unlock for year-round farming, because it removes the seasonal lock on a small number of indoor tiles. Once you upgrade it twice, the Winter-only rare variants become reachable, and the cooking contests that gate late-game story progression become far easier to clear. The save system and progression overview explains how greenhouse upgrades interact with the chapter-based story structure, which matters because some rare crop quests are tied to specific story beats.
Farming Camp how to unlock crops questions almost always come down to reputation. The fastest reputation grind is a clean daily loop of three chores, one full watering pass, and one donation batch to the camp store. Players who skip donations to hoard inventory actually slow their rare seed unlocks, because the donation counter is the same counter the game reads for the autumn rare crop. Community reports suggest roughly 30 donations are needed to trigger the Moonlit Pumpkin, and that number does not change based on donation size — ten tomatoes and one pumpkin count the same as one tomato and ten pumpkins.
Crop Combinations and Plot Pairings That Pay Off
Some crops are not just good on their own — they actively help the tile next to them. The Companion Planting system reads adjacency bonuses, and a handful of pairings are strong enough to define a whole season's layout. The system is simple: two crops planted in adjacent tiles get a small yield bonus if they share a positive affinity, and a small penalty if they do not.
| Primary Crop | Companion Crop | Affinity Bonus | Best Plot Type |
|---|---|---|---|
| Tomato | Basil | +12% yield, +5% aroma (used in contest dishes) | Standard |
| Carrot | Onion | +8% yield, pest resistance | Riverbank |
| Corn | Bean | +15% yield, soil nitrogen restored | Hillside |
| Pumpkin | Marigold (herb) | +10% yield, +20% rare variant chance | Standard |
| Lettuce | Radish | +6% yield, faster maturation | Riverbank |
The Corn–Bean pair is the single most efficient combination for the Hillside plot, because beans fix nitrogen that corn strips out, which means the plot recovers from a demanding grain cycle without needing extra compost. For the Riverbank plot, the Carrot–Onion pair is the workhorse — both crops are forgiving on watering, and the pest resistance bonus matters because the riverbank attracts more bugs during Late Spring.
For the rare crop push, the Pumpkin–Marigold pairing is the meta. The +20% rare variant chance stacks with the Gold-tier plot upgrade, and a fully optimized pumpkin bed becomes the most reliable source of Moonlit Pumpkins in the game. If you want to layer Farming Camp crop combinations on top of an already tight watering schedule, the daily schedule walkthrough maps out how to fit the extra herb watering into a normal camp day without losing time on chores.
One last pairing worth flagging: the Three Sisters layout (corn, bean, squash) works in-game the same way it does in real companion planting, and it is the only combination that triggers a special Harvest Festival event if all three are ready on the same day. The festival gives a one-time large XP bump and a guaranteed rare seed, so it is worth timing the planting cycles so all three reach maturity on the same in-game weekend.
Tips for Long-Term Soil Health and Contest Prep
Once you have the basics running, the next layer of optimization is making sure your soil stays at peak quality through the cooking contests, because a contest submission requires produce that was harvested from a healthy plot. Sickly or stressed crops lose their Aroma Score, and aroma is the tiebreaker the judges use when two dishes have identical base quality. Soil health directly drives aroma, which is why a "good enough" plot rarely wins a tight contest.
Three habits separate consistent contest winners from the rest of the camp: a strict three-bed rotation that prevents soil fatigue from compounding across cycles, compost applied the morning a new seed goes in rather than mid-growth, and watering synced to the in-game weather forecast instead of a fixed schedule. Players who internalize this rhythm typically see their Aroma Score climb two full points within a single in-game week, which is usually the gap between a bronze ribbon and the top of the contest leaderboard.
-
Rotate, then rest. After three full cycles on a bed, leave one bed fallow for two in-game days. The fallow period lets soil fatigue reset naturally, and it costs almost nothing because the camp has more beds than any single day requires.
-
Compost on transition days. Apply compost at the start of every cycle that follows a heavy feeder (corn, pumpkin, tomato). The +15% yield is nice, but the fatigue reduction is the real prize.
-
Match watering to weather, not the clock. A morning watering on a rain day is wasted effort. The forecast board is right there, and reading it takes ten seconds — yet it is the single most common thing players forget after their first week.
The official Farming Camp page on Steam is the cleanest reference for the launch-window achievement list, including the four cooking-contest achievements that all share the requirement of a clean soil cycle underneath. Pair that with the quest list and chore order and you have a complete picture of how the soil mechanics feed into the broader progression loop. Once your plots are healthy, the rest of the camp opens up faster, and the late-game rare seeds stop feeling like lottery tickets and start feeling like the natural reward of a well-run rotation.
Frequently Asked Questions
What is the best soil plot to upgrade first in Farming Camp?
The Riverbank Alluvial Plot is the strongest first upgrade because its 1.3x moisture retention makes it forgiving of the timing mistakes new players make during their first week, and the Silver-tier yield bonus compounds across more cycles than the cheaper Bronze-tier upgrades on the other plots. Save the Gold-tier Hillside upgrade for once you have a stable compost supply.
How often should I water crops in Farming Camp?
Twice per in-game day on rain-free days — once in the morning before 9:00 AM to trigger the growth tick, and once in the early evening to keep the topsoil damp overnight. Skip the evening watering whenever the notice board forecasts rain, because overwatering on a rainy day is what causes the root rot that wrecks seedlings.
Can I plant the same crop in the same bed twice in a row?
You can, but only if you apply Fertilizer Compost at the start of the second cycle, which halves the soil fatigue penalty for repeating a family. Without compost, the second consecutive cycle cuts yield by 25% and effectively zeroes the chance of a rare variant, so it is almost never worth doing outside of an emergency contest prep.
How do I unlock the Crystal Mushroom in Farming Camp?
The Crystal Mushroom is a Winter-only rare crop that requires the Greenhouse to be upgraded to Tier 2, plus Camp Reputation Tier 3. The greenhouse upgrade is the real gate, because the indoor tiles are the only plots where Winter variants can mature at all. Once both conditions are met, the seed appears in the shop on the first day of Winter.
Do crop combinations actually matter in Farming Camp?
Yes — companion pairings like Tomato–Basil, Corn–Bean, and Pumpkin–Marigold all add a stacking yield bonus, and the Three Sisters layout (corn, bean, squash) is the only combination that triggers the special Harvest Festival event when all three crops mature on the same day. The bonuses are modest on their own, but they stack with plot upgrades and compost, which is what separates a good harvest from a contest-winning one.